More and more marketers are investing in creating brand experiences that are delivered right to a consumer’s doorstep — a physical touchpoint that engages all the senses, creating a memorable moment that a digital communication just can’t provide. One area that has become a big focus with direct marketers and CRM professionals is custom packaging, specifically, influencer and product sampling kits, new customer welcome kits, and other customized solutions that are designed to make an impact and drive results.
Packaging in general has always been considered an important way to influence a consumer’s first impression of a brand — an opportunity to communicate a message and capture consumer attention outside of and around a product.
With the explosive growth of influencer marketing paired with social media, the unboxing experience of brand packaging has grown more important than ever. Countless unboxing videos have been posted by consumers on YouTube, and given it’s the second most popular search engine behind Google, marketers will want to ensure their products appear at the top of those search results.
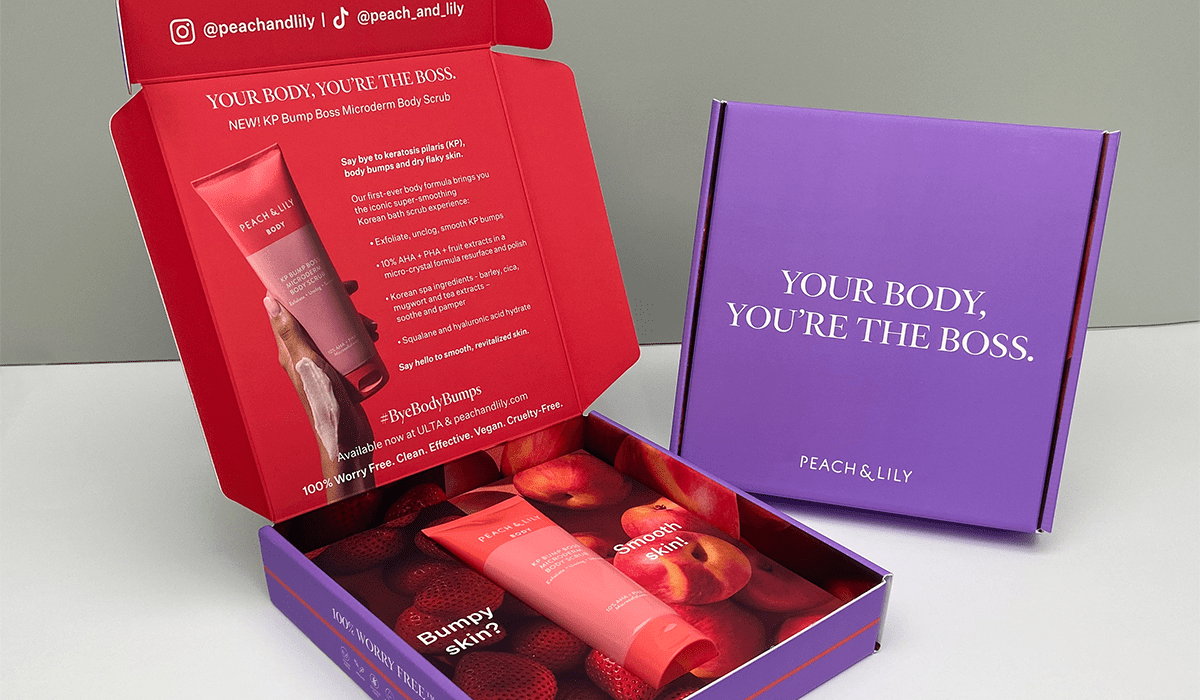
So for brands, the manner in which you ‘package-up’ that customer experience needs to be well-designed and well-planned to ensure you’re creating that memorable — and shareable — moment.
But before you set out to create a marketing campaign involving some form of customized packaging, there’s a few things you should consider from a design, production and budgeting standpoint to make sure your project is set on a course for success. Below are some of Hatteras’ tips for planning a successful custom packaging program.
1. Consider Your ‘Why’
Prior to starting the design process and the many planning and production steps that follow, it’s important to consider your ‘why’, which is your main objective and the result you want to achieve in creating a custom package or branded kit. Some reasons may include:
- To educate or inform your audience
- To communicate your brand story
- To drive consumer engagement/online activity
- To increase loyalty/brand advocacy
- To drive a purchase
While you may want to do some or even all of the above, knowing this first and foremost will help you and our team design a product that sets out to accomplish specific goals.
2. Decide What Will Be Included
In order for your branded kit to be unique and produced to your exact needs, you’ll need to first nail down what products and other items you’d like to include in the box.
Once you’ve decided, you should send the actual products or other client-supplied components to your print partner so they can build a custom package around those items and ensure the final kit matches the dimensions of your products exactly. The printer will also consider the final weight and size of the box in determining which substrates to use that will be strong enough to protect your box and its contents during transit.
Some other considerations include: Will the package have a personalized message for each recipient? Will there be multiple versions of the kit, such as a larger kit with its own product set for your most loyal customers and a smaller version for another segment? All of these variables will be used in planning the kit and determining the cost, which takes us to the next step.
3. Determine Your Budget
It’s important that you establish an overall budget for your kit including production and distribution costs — and share it with your print partner so they can present different solutions within a specific cost framework. It also helps to manage expectations early in the concepting stages so there are no surprises later on.
Once a budget is determined, you can explore different features and approaches for your custom kit with your printer. For example, do you want special finishes such as embossing, foil stamping or lamination? Would you like a magnetic closure which adds to the opening (and closing) experience? Do you want the boxes overnighted via FedEx or would you prefer using a more economical method?
Keep in mind that these are customized kits that you’re building an experience around, vs. buying them off the shelf from a supplies company, so you’ll want to plan a budget accordingly.
4. Request a Prototype
Once you have the design concept and components nailed down, it’s important that you have a prototype of the kit made. This is one of the most critical steps in the planning process, because it allows you to see a physical ‘mockup’ of the kit and how it will function before going into production. A prototype essentially bridges the gap between design concept and finished product.
Typically, a prototyping engineer will construct a prototype using the agreed-upon materials of the kit but without any printing or finishing such as embossing or coatings.
Check out a behind-the-scenes video.of the prototyping process.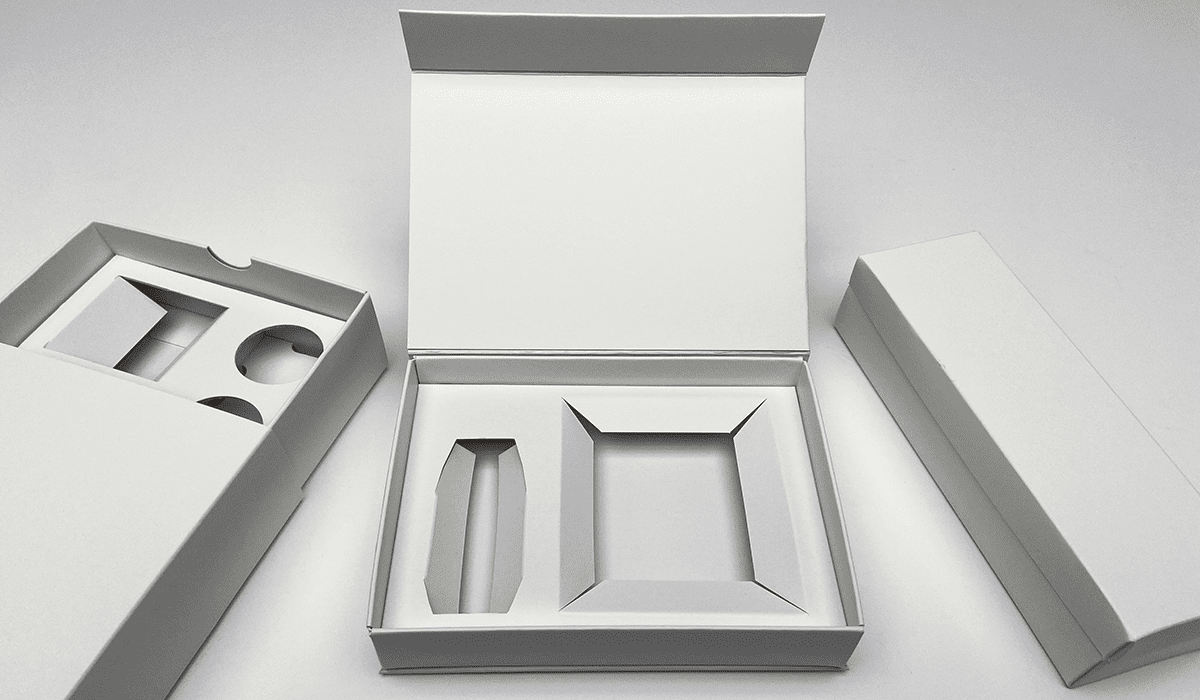
5. Create a Schedule
There are many steps that take place between when the final design is ready to when the kit is produced, assembled, and ready for shipment. When preparing a schedule, the best place to start is at the end— which is the ‘in-home date,’ or day you’d like your kits to arrive at their final destination.
Using this date, your printer will create a work-back schedule with milestones along the way to ensure the production of your kit stays on track and meets your desired launch date. Key milestones include art hand-offs, proof approvals, and deadlines for any client-supplied materials such as products and mailing lists (if applicable).
6. Prepare to Ship
Ideally your print partner has the ability to assemble and fulfill your promotional kits under one roof, which helps to maximize speed-to-market and reduce costs.
After the kits are assembled, the final step is deciding how you’d like them delivered. Do you want to mail them directly to recipients’ homes? Will they be drop-shipped to a single location or bulk-packed to a warehouse for further distribution?
Remember that part of the unboxing experience is how the kit is prepared for shipment and received by the consumer. Depending upon the weight and size of the final kit, it’s possible that the outer branded box can also serve as the shipping box, which creates a nice visual touchpoint while also reducing costs by eliminating the need for a plain, cardboard shipping box.
Ready to make a memorable branded kit?
Custom packaging and promotional kits provide a unique way for you to deliver a physical brand experience for your loyal customers or target audience. With a little creativity and some careful planning, you can develop a program that’s designed for success and becomes an integral part of the customer journey.
As your full-service printing partner, Hatteras can help you explore different options and guide you from the initial concepting and prototyping stages all the way through to final production and delivery.
Contact our team today to get started.